→Co2 Laser Implant Sealer

One day, the idea came up to build a laser sealer to seal custom implants.

The people on the Dangerous Discord were very helpful, and together we polished the project and then started ordering parts.

Special thanks to: Satur9, DonFire, Miana, Amal, EriQuiet, and SilentPotat0 from the Biohackers Digital Discord

CO2 laser tube for a DIY laser sealer, designed for crafting and sealing glass implants in biohacking projects.

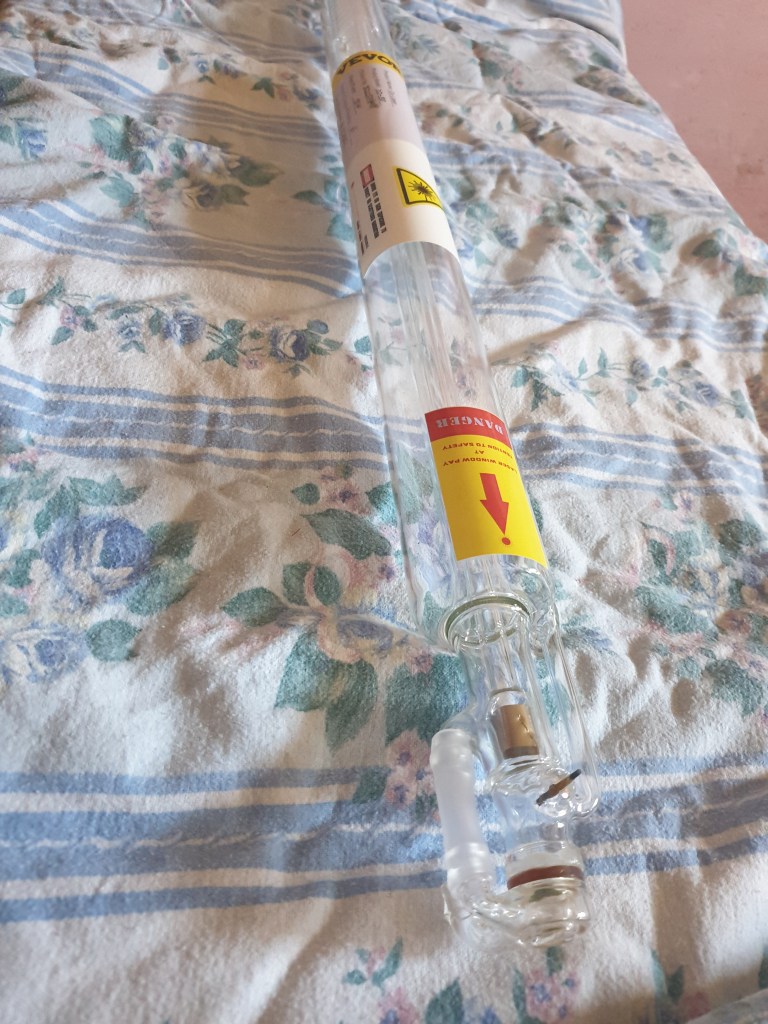
Everything started with this Vevor 50W CO2 laser tube from AliExpress. It came with the power supply. I got some silicone tubing and an aquarium pump for the cooling loop.
I dropped the pump into a canister of distilled water and added some car antifreeze because the basement gets cold in winter.

3D-printed resin holders designed for CO2 laser, used in DIY biohacking projects for precision and stability during implant sealing

Ive found this laser tube holder on thingiverse and printed it

3D-printed resin holders with zip ties attached, securing components for CO2 laser setup in DIY biohacking and implant sealing projects.

Inserted zip ties and mounted the Tube

3D-printed resin holders with zip ties, placed on a table, ready for use in DIY CO2 laser setup for sealing implants.
Fully assembled CO2 laser setup on a table, with Arduino-controlled lathe and stepper driver for precise biohacking and implant sealing.

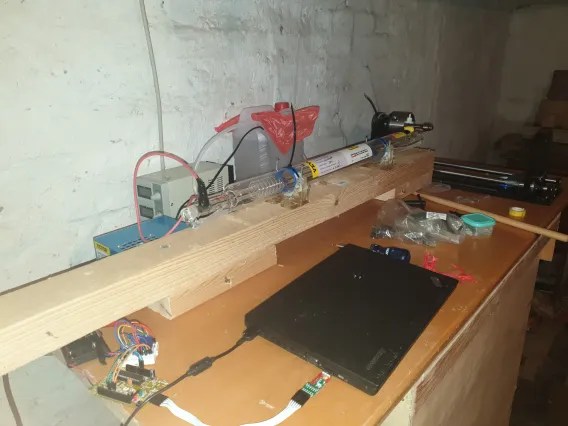
Moved to the basement because i was afraid to burn holes in the wall

CO2 Glass Melting laser burned a hole in the wall, showcasing the power and potential risks of DIY laser setups in biohacking projects.

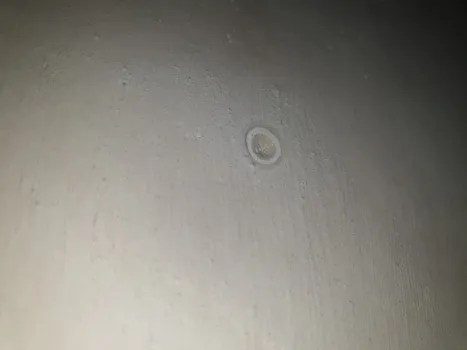
And here is the hole in the wall i was afraid of

Affordable CNC axis setup, used in DIY biohacking projects for precise control and movement in implant crafting and modifications.

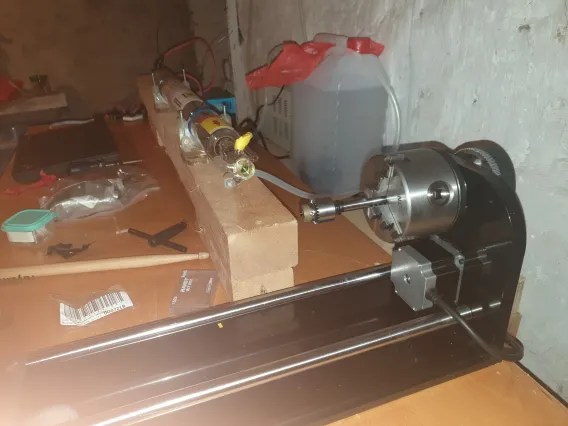
Got this cheap third cnc axis

First time turning on the CO2 laser with insulating gloves, ensuring safety during DIY biohacking and implant sealing experiments.

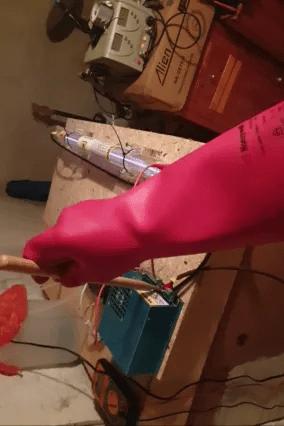
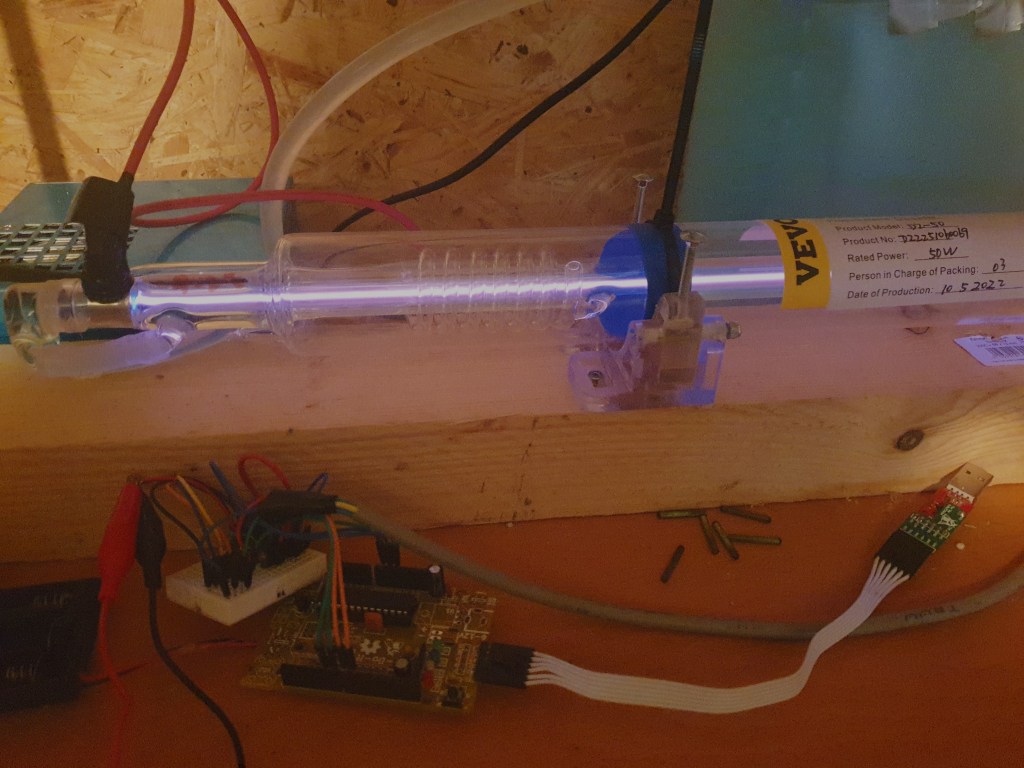
First time turning the laser on

New higher-precision lathe for enhanced accuracy in DIY biohacking projects, used for crafting and modifying implants.

The old lathe was not running smoothly so i got a better one

This Arduino seen below was used to drive the lathe but i quickly replaced it with this stepper controller

High Power CO2 laser turned on, emitting a fantastic glow, with the Arduino control unit in the background, highlighting the DIY biohacking setup.

Building the control panel with thermometer, Laser timer, Laser power controller, Lathe Speed controller and emergency stop button
the housing is a clementine crate from the supermarket

Resin 3D-printed holder designed for Schott bioglass, used in DIY biohacking and implant projects for secure placement and precision.

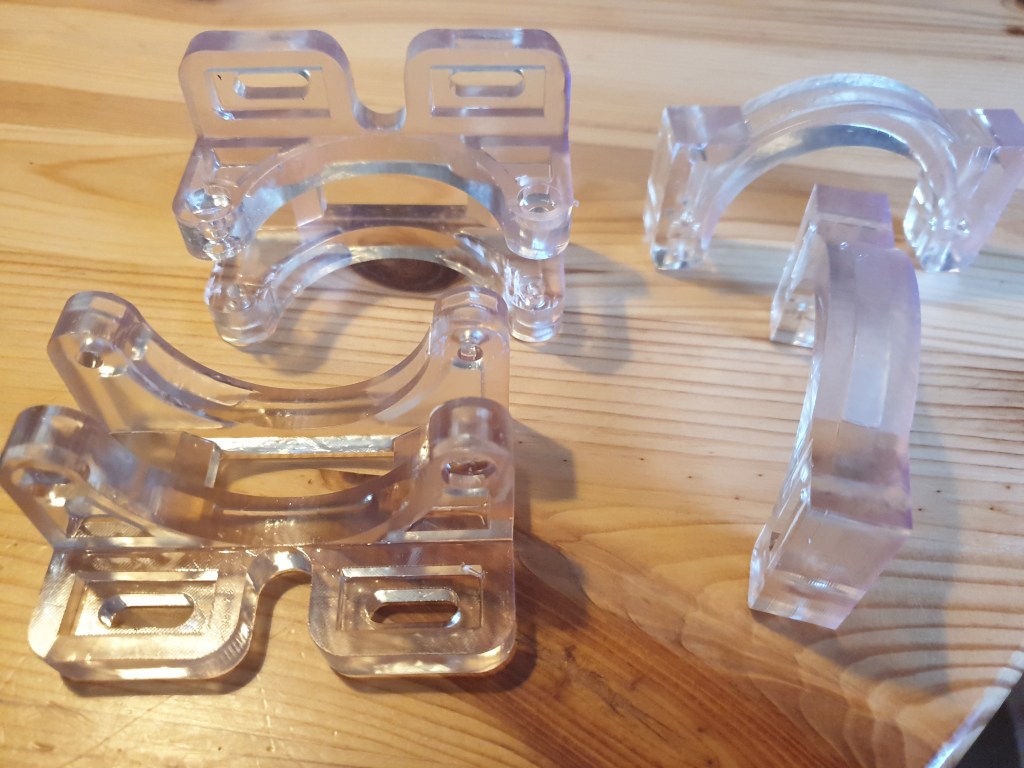
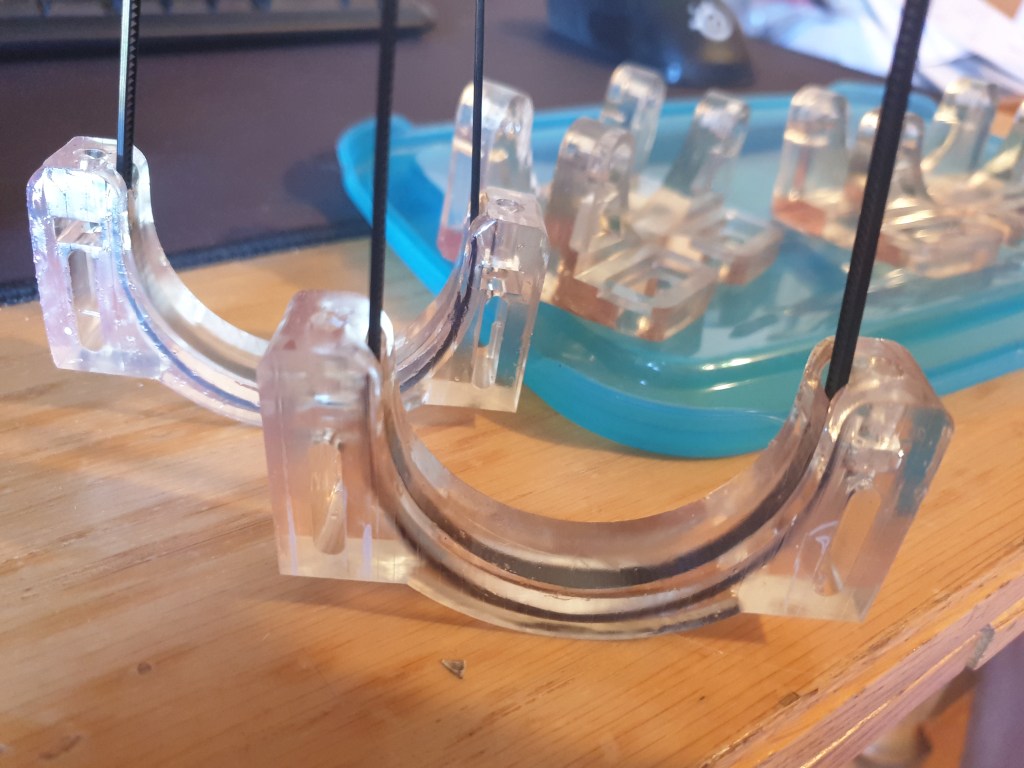
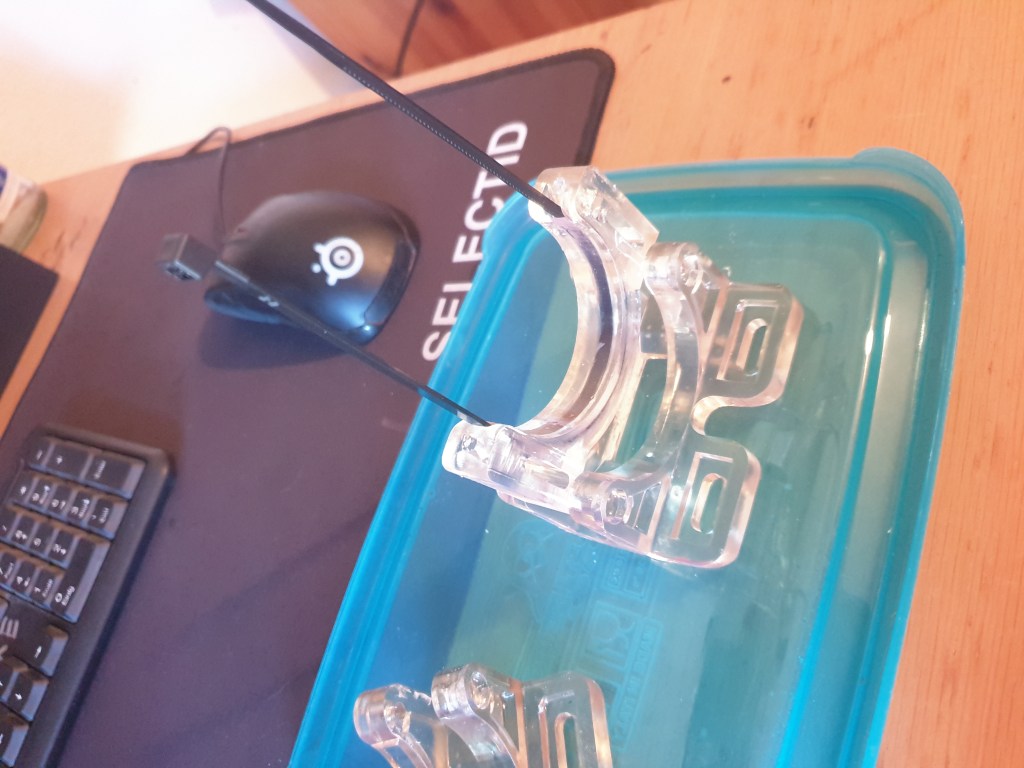
EriQuiet designed those glass tube holders so i no longer need to put them in the metal chuck directly

Close-up of one end of a Schott implantable bioglass, highlighting the beautiful, precise seal achieved in a DIY biohacking project

Seals turned out nice, i was happy with the results

At this point i was ready to build some implants!

If you want your own electronics sealed in glass by my laser, hit me up. The glass we have has an inner diameter of 2.1 mm, and the electronics can’t exceed a length of 15 mm.

Response to “→Co2 Laser Implant Sealer”

  1. Human

    🦆

Leave a Reply

Your email address will not be published. Required fields are marked *